


私有化对象存储搭建+Nginx反向代理+MinioPG客户端(PicGo)综合配置
1、系统环境检查及需要的安装包
系统版本信息
root@localhost:~# hostnamectl
 Static hostname: localhost
       Icon name: computer-vm
         Chassis: vm
      Machine ID: cb56800dfcf7455281d2054b29f759d5
         Boot ID: c4a9334f70f146e7967ec42e60b7b390
  Virtualization: kvm
Operating System: Ubuntu 22.04.5 LTS
          Kernel: Linux 5.15.0-130-generic
    Architecture: x86-64
 Hardware Vendor: Alibaba Cloud
  Hardware Model: Alibaba Cloud ECS
root@localhost:~#
需要的安装包
https://dl.min.io/server/minio/release/linux-amd64/minio   ##社区版的minio安装包
nginx   ## ubuntu的源中有
需要开发的端口
- 9000 :minio的API端口
- 9001:minio的WebUI端口
- 443:ssl端口
需要两个域名,两个域名自定义,需要对应的证书
- minio.xxxx.xx 前端WebUI地址
- pic.xxxx.xx API地址
minio的存储路径
/data
2、安装Minio
下载安装Minio
## 创建minio的存储路径
mkdir /data

## 下载安装包
wget https://dl.min.io/server/minio/release/linux-amd64/minio

## 移动到bin目录下并设置权限
mv minio /usr/local/bin/minio
chmod +x /usr/local/bin/minio

## 编写minio的启动文件,下面的内容只需要修改用户名和密码即可。
cat <<EOF>> /etc/systemd/system/minio.service
[Unit]
Description=MinIO Object Storage
Documentation=https://min.io/docs/
Wants=network-online.target
After=network-online.target

[Service]
User=root
Group=root
Environment="MINIO_ROOT_USER=xxx"    ## minio的用户名
Environment="MINIO_ROOT_PASSWORD=xxxx"    ## minio的密码
ExecStart=/usr/local/bin/minio server /data  --console-address ":9001"
Restart=always
LimitNOFILE=65536
TimeoutStopSec=60
SendSIGKILL=no

StandardOutput=append:/var/log/minio.log
StandardError=append:/var/log/minio.log

[Install]
WantedBy=multi-user.target
EOF
启动minio
systemctl daemon-reload
systemctl enable --now minio.service
检查状态和日志
### 状态
root@localhost:~# systemctl status minio.service
● minio.service - MinIO Object Storage
     Loaded: loaded (/etc/systemd/system/minio.service; enabled; vendor preset: enabled)
     Active: active (running) since Mon 2025-05-12 09:56:19 CST; 1h 38min ago
       Docs: https://min.io/docs/
   Main PID: 163715 (minio)
      Tasks: 9 (limit: 1917)
     Memory: 305.2M
        CPU: 17.279s
     CGroup: /system.slice/minio.service
             └─163715 /usr/local/bin/minio server /data --console-address :9001

May 12 09:56:19 kms systemd[1]: Started MinIO Object Storage.


###日志
root@localhost:~# cat /var/log/minio.log
Copyright: 2015-2025 MinIO, Inc.
License: GNU AGPLv3 - https://www.gnu.org/licenses/agpl-3.0.html
Version: RELEASE.2025-04-22T22-12-26Z (go1.24.2 linux/amd64)

API: http://172.24.216.96:9000  http://172.17.0.1:9000  http://127.0.0.1:9000
WebUI: http://172.24.216.96:9001

Docs: https://docs.min.io
3、安装nginx配置反向代理
安装nginx
## 更新源
root@localhost:~# apt update -y
root@localhost:~# apt install nginx -y

## 配置nginx反向代理   需要配置域名和ssl证书的位置
root@localhost:~# cp /etc/nginx/nginx.conf  /etc/nginx/nginx.conf.bak
root@localhost:~# vim /etc/nginx/nginx.conf
user www-data;
worker_processes auto;
pid /run/nginx.pid;
include /etc/nginx/modules-enabled/*.conf;

events {
        worker_connections 768;
        # multi_accept on;
}

http {
        server {
		  listen          80;
		  server_name     你的Minio API域名;
		  listen  443 ssl;
		  ssl_certificate 你的证书;
		  ssl_certificate_key 你的私钥;

		  location / {
			  proxy_set_header X-Real-IP $remote_addr;
			  proxy_set_header X-Forwarded-For $proxy_add_x_forwarded_for;
			  proxy_set_header X-Forwarded-Proto $scheme;
			  proxy_set_header Host $http_host;

			  proxy_connect_timeout  300;
			  # Default is HTTP/1, keepalive is only enabled in HTTP/1.1
			  proxy_http_version 1.1;
			  proxy_set_header Connection "";

		      proxy_pass http://127.0.0.1:9000;
        }
    }
       server {
         listen 80;
         server_name 你的Minio WebUI域名;

         listen 443 ssl;
         ssl_certificate 你的证书;
         ssl_certificate_key 你的私钥;

         location / {
             proxy_set_header X-Real-IP $remote_addr;
             proxy_set_header X-Forwarded-For $proxy_add_x_forwarded_for;
             proxy_set_header X-Forwarded-Proto $scheme;
             proxy_set_header Host $http_host;

             proxy_connect_timeout 300;
             proxy_http_version 1.1;
             proxy_set_header Upgrade $http_upgrade;  # 支持 WebSocket
             proxy_set_header Connection "upgrade";    # 支持 WebSocket

             proxy_pass http://127.0.0.1:9001;
        }
    }
}

### 启动nginx
root@localhost:~# nginx -t
nginx: the configuration file /etc/nginx/nginx.conf syntax is ok
nginx: configuration file /etc/nginx/nginx.conf test is successful

root@localhost:~# systemctl enable --now nginx
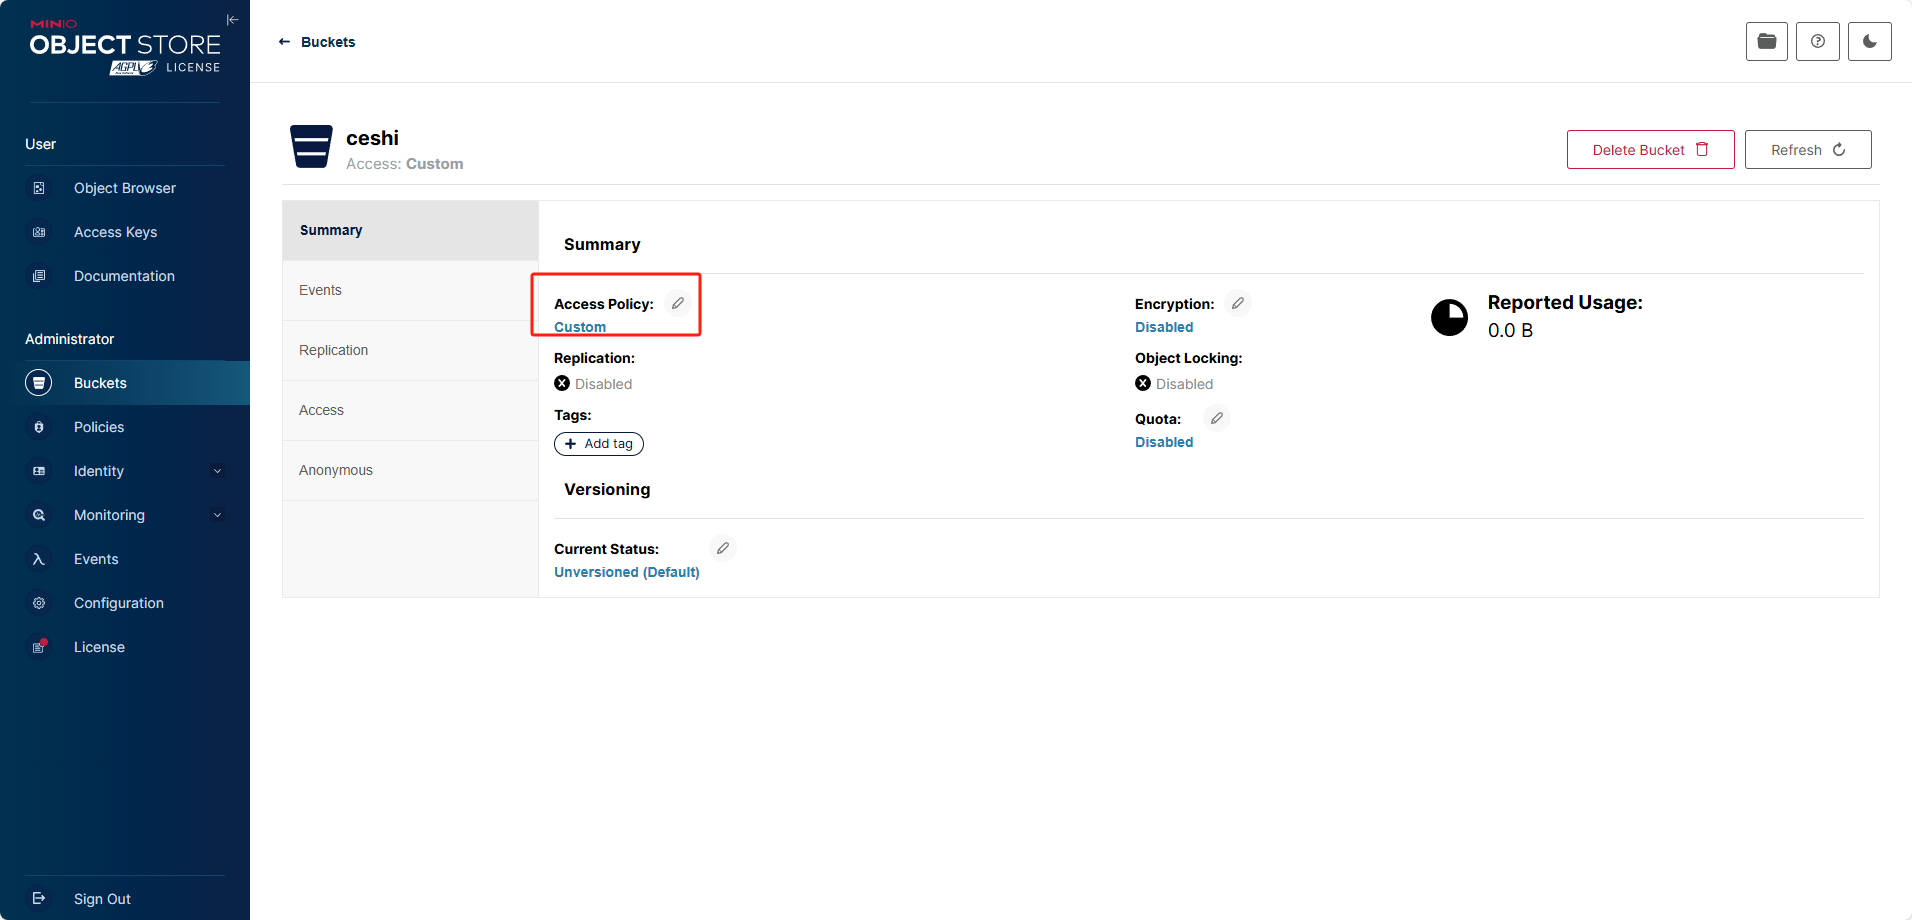
4、测试访问,配置存储桶和key
浏览器输入的你的域名

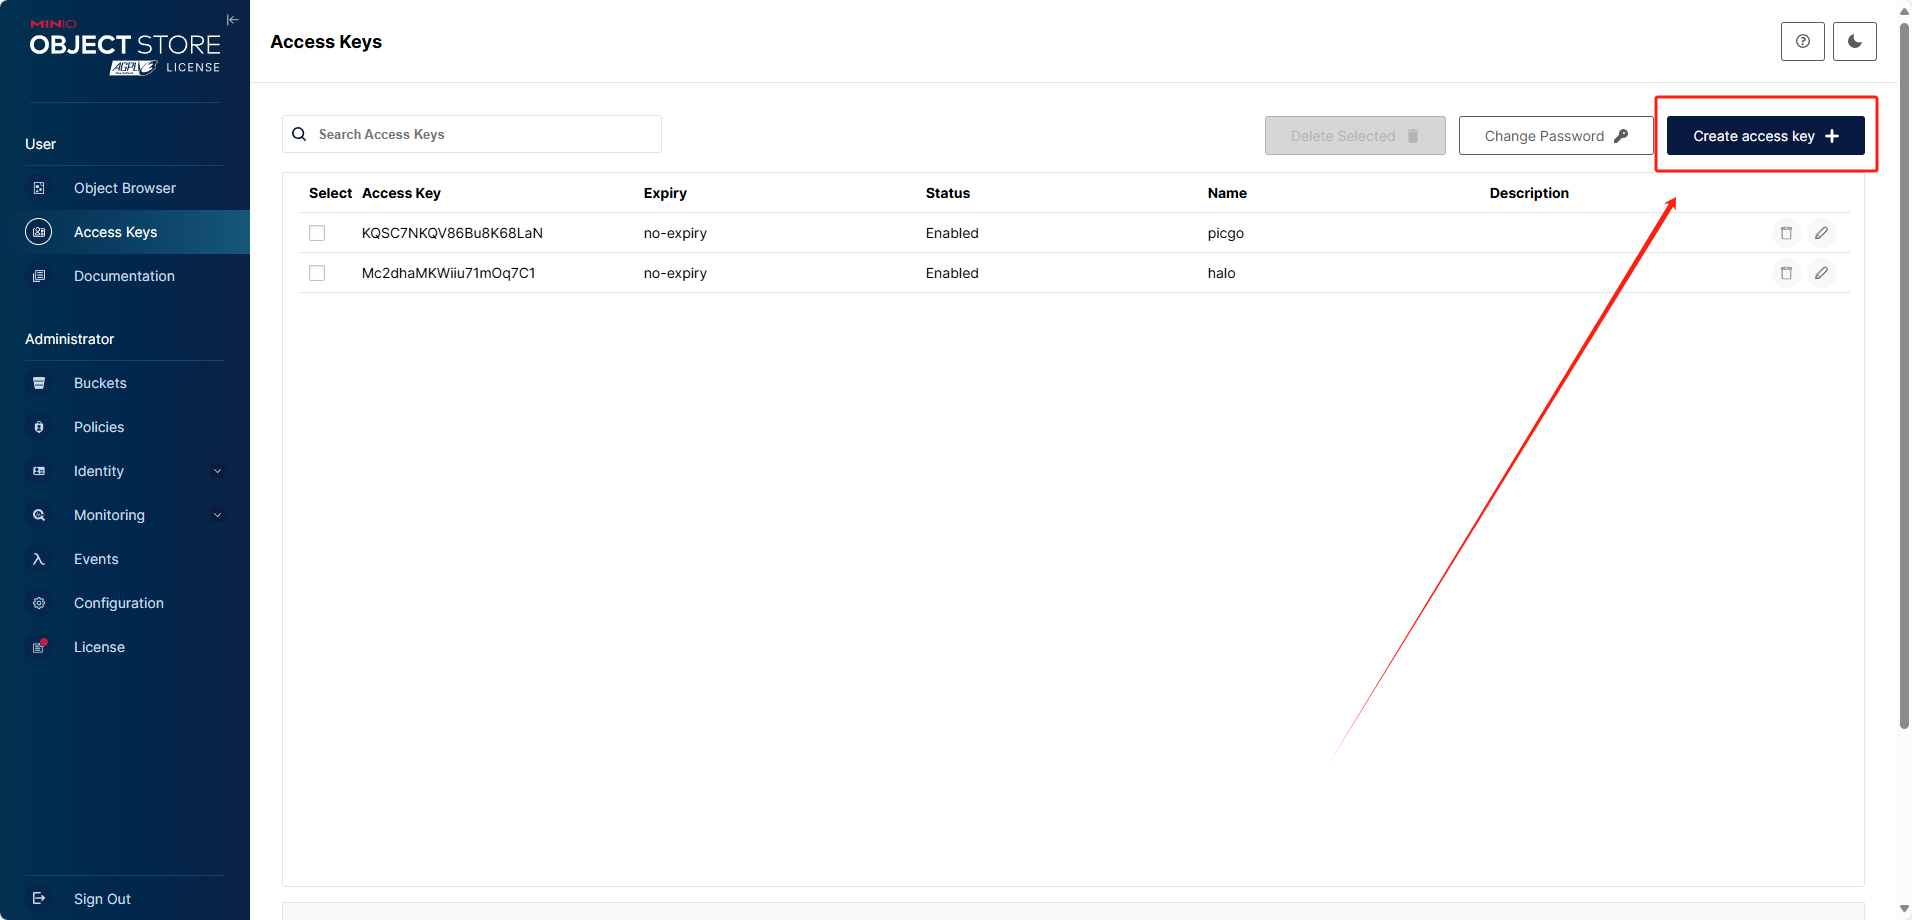
配置key,名字随便起,记住key
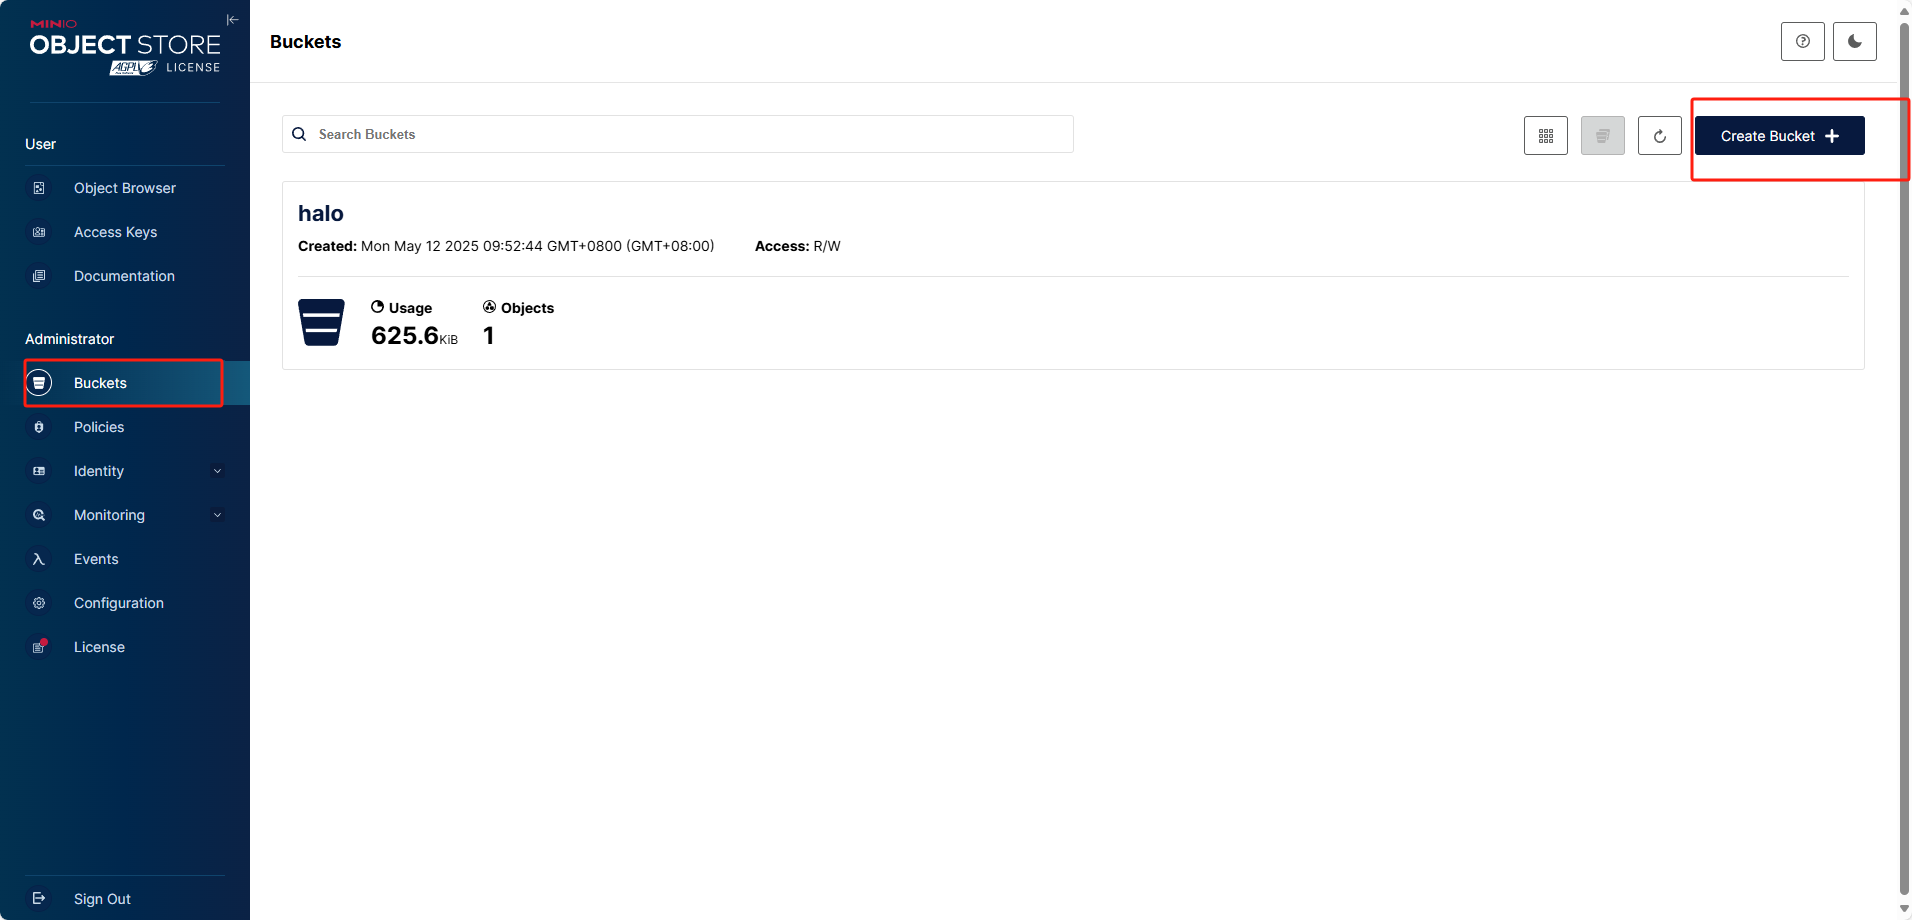
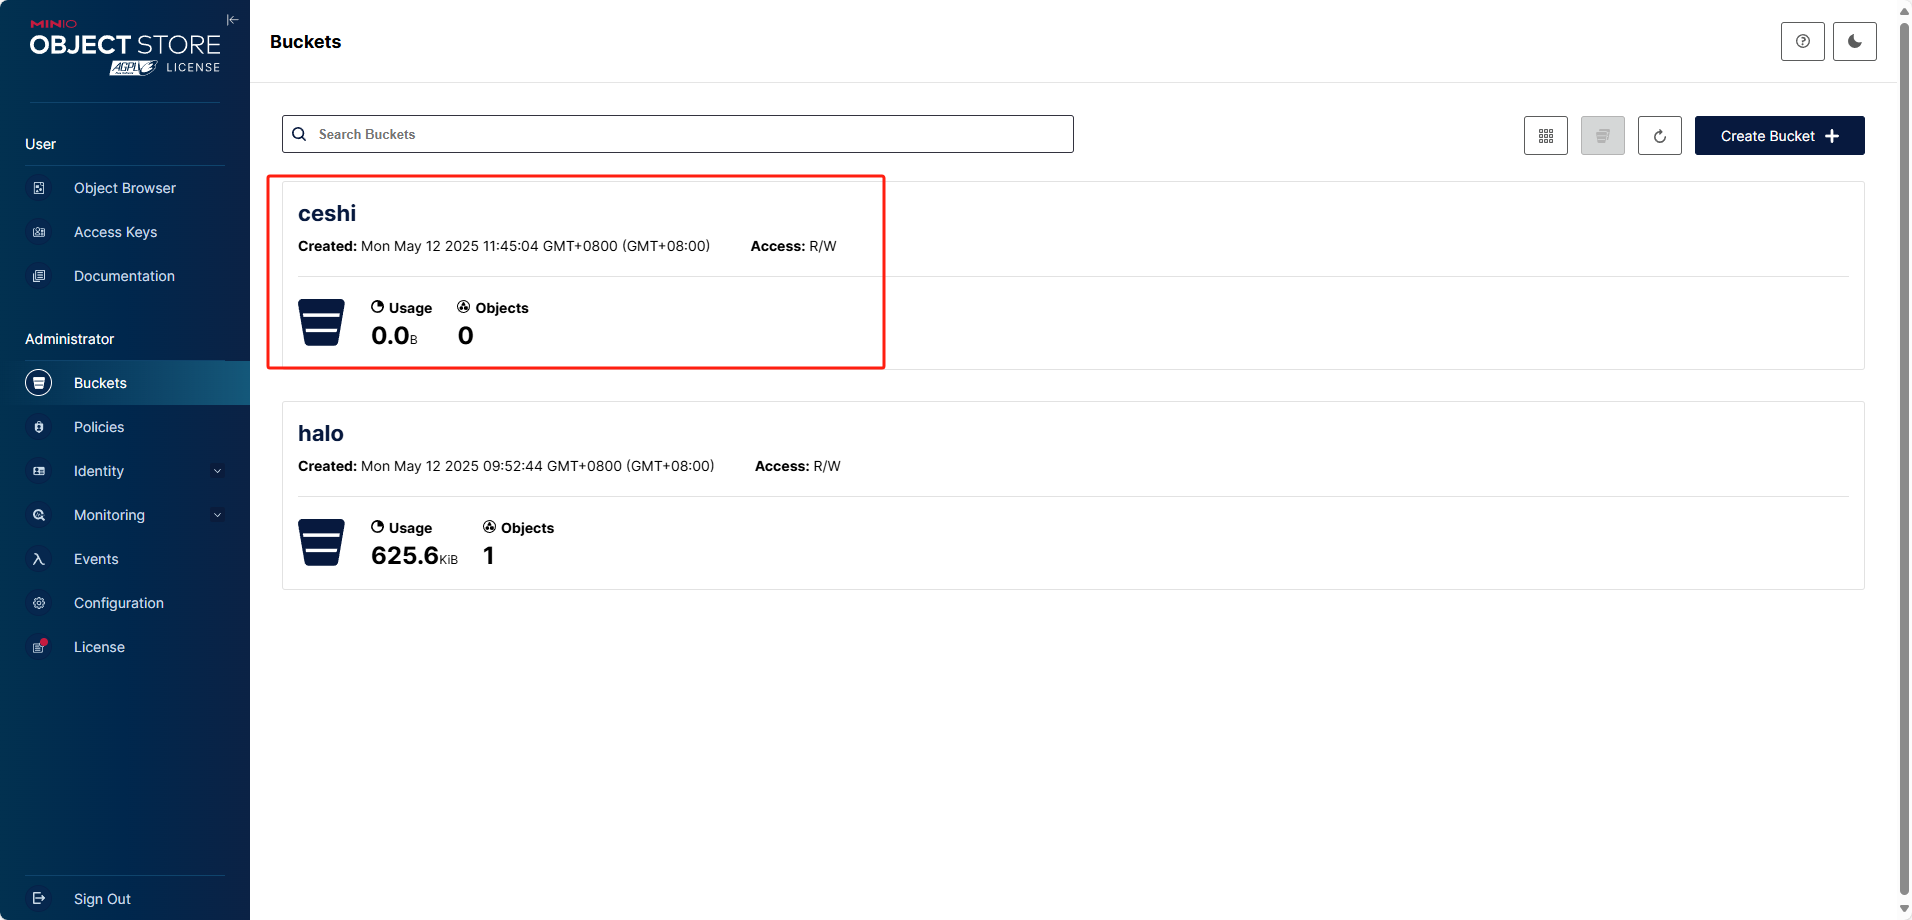
配置存储桶
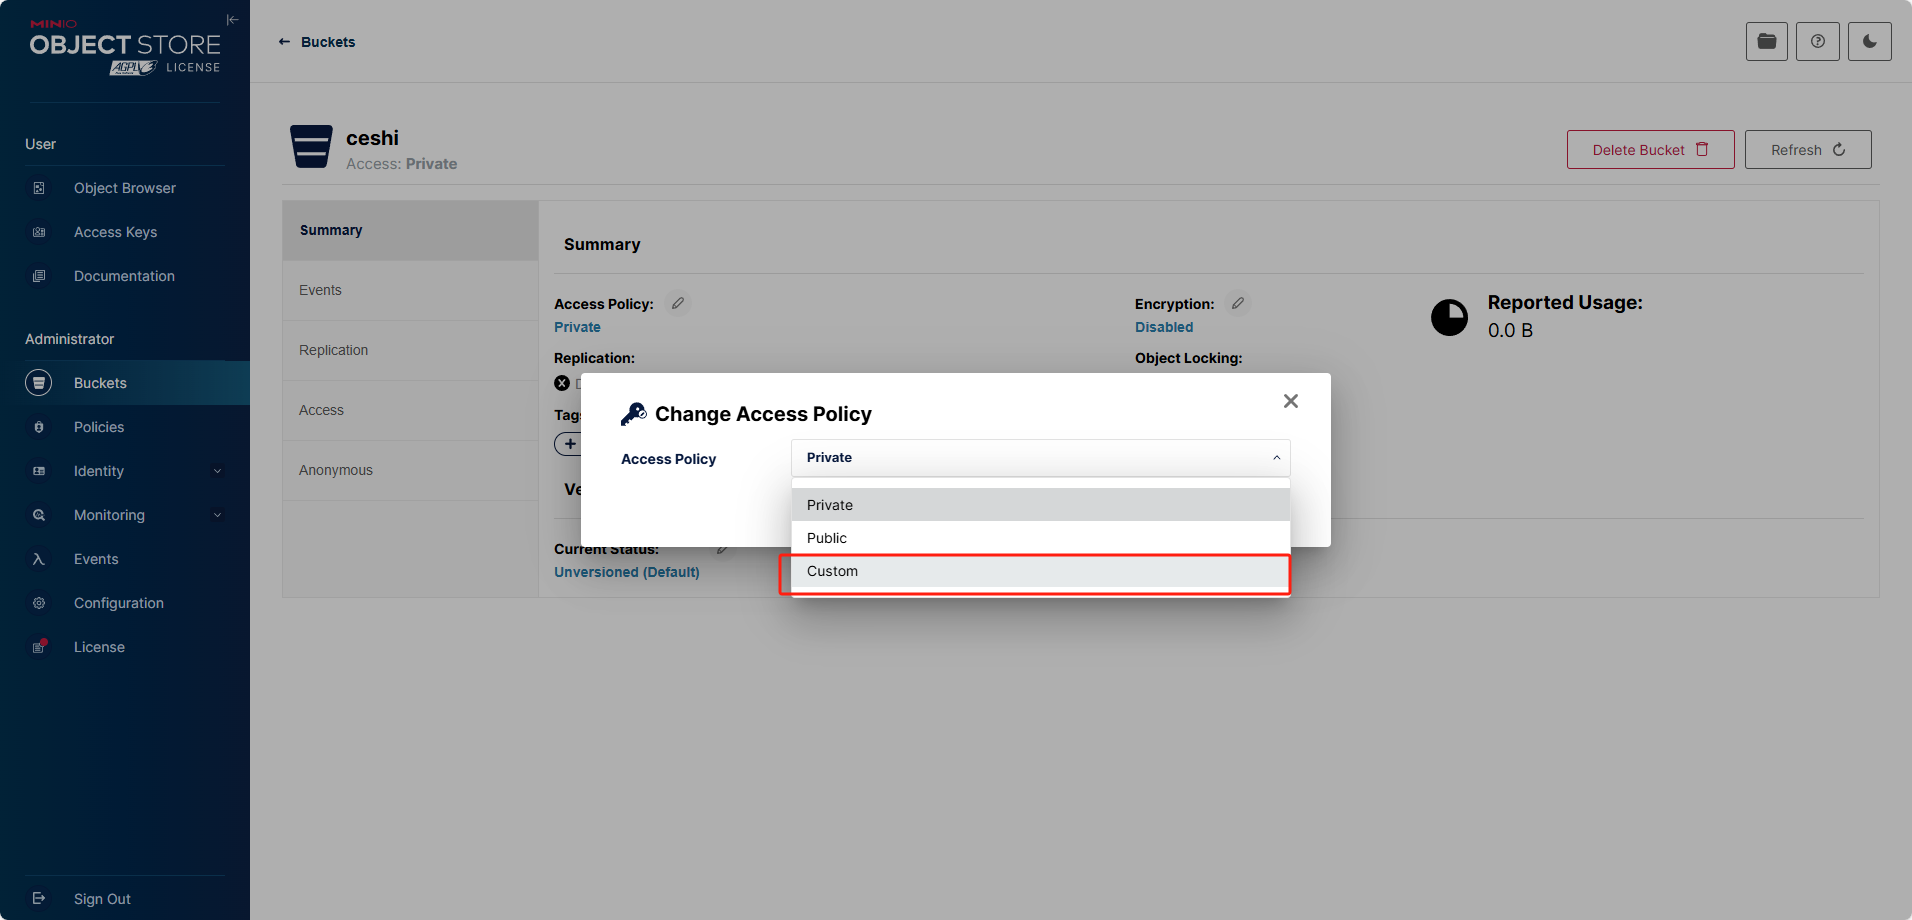
配置存储桶的访问权限,允许匿名访问

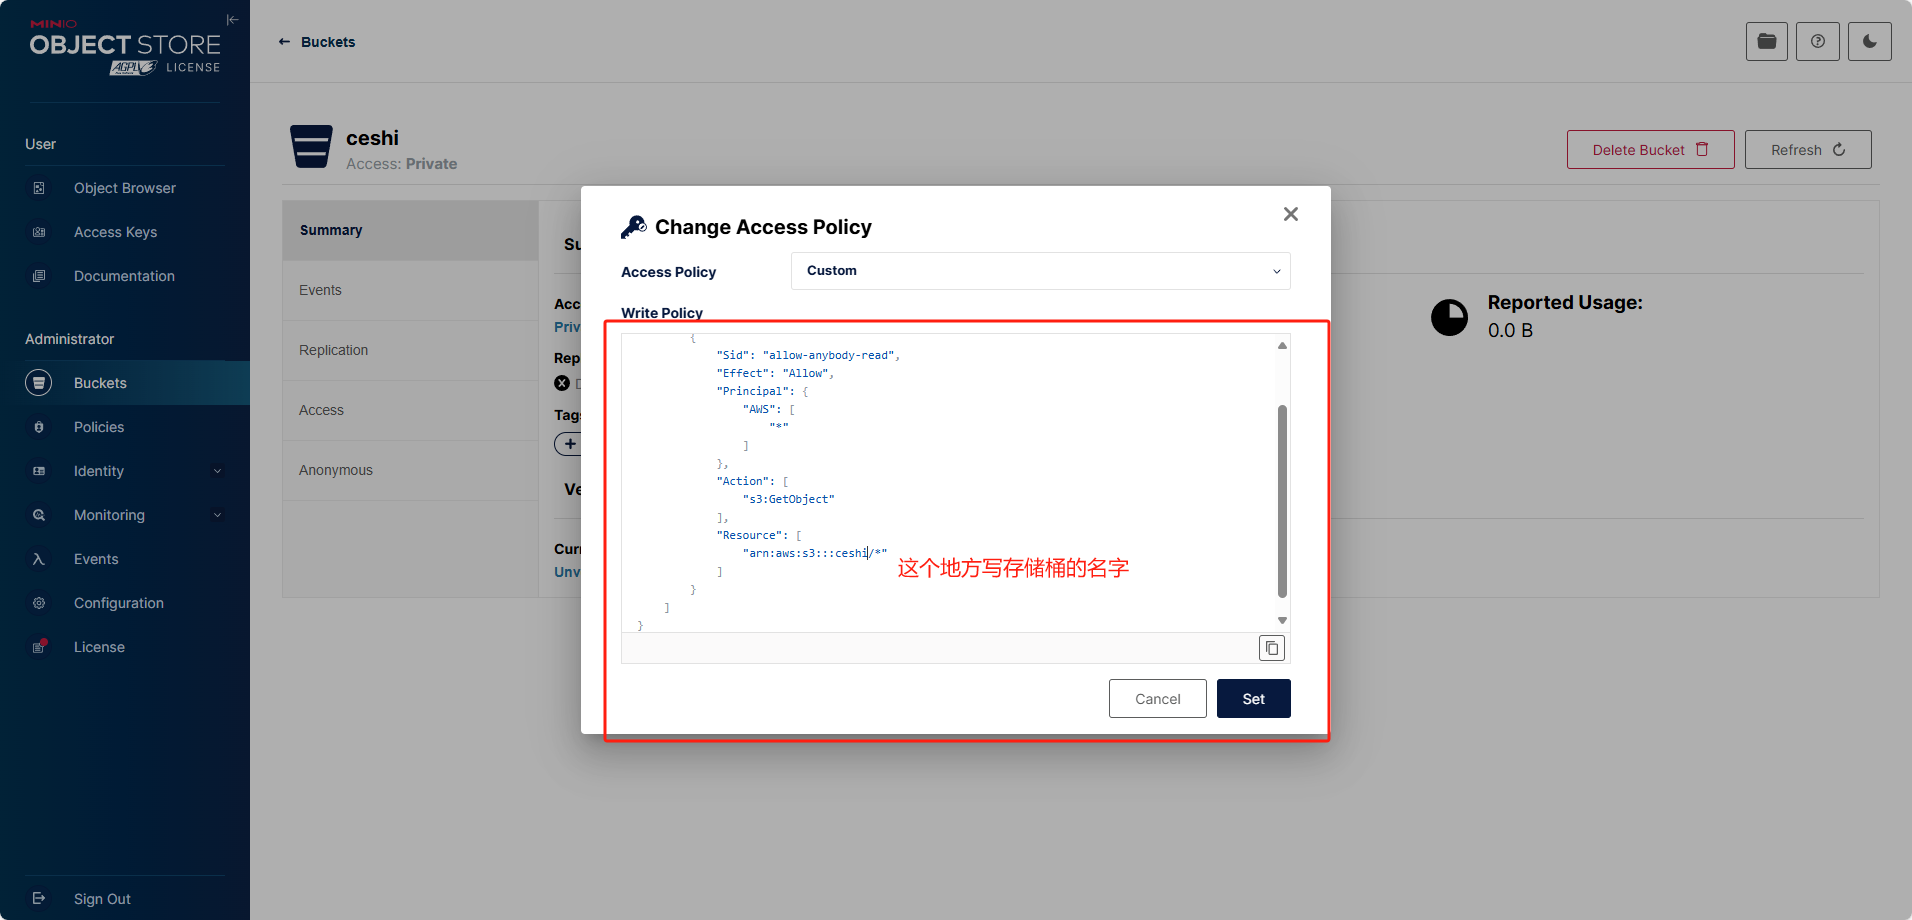
{
    "Version": "2012-10-17",
    "Statement": [
        {
            "Sid": "allow-anybody-read",
            "Effect": "Allow",
            "Principal": {
                "AWS": [
                    "*"
                ]
            },
            "Action": [
                "s3:GetObject"
            ],
            "Resource": [
                "arn:aws:s3:::ceshi/*"
            ]
        }
    ]
}
5、配置MinioPG客户端
仿照PicGo写的一款转用于Minio的客户端。

项目地址:https://github.com/fh4606/MinioPG
配置

- endPoint:minio后端API 域名地址
- port:默认9000
- accessKey:自己创建的
- secretKey:自己创建的
- 存储桶:自己创建的
- 自定义域名:这个地方要注意,格式:https://你的域名/存储桶名称 例如域名:111.1111.com 桶名称:ceshi 完整url就是:https://111.1111.com/ceshi
点击保存后如下

测试上传图片,会自动复制到剪贴板

查看上传的图片

6、如果使用PicGo配置
安装插件:minio 2.5.2


注意:域名的地方,不需要填写存储桶,例如:https://111.1111.com
首次配置完成后需要重启下软件,以防止文件列表刷新不过来的问题。
评论区